Your best choice for vinyl die cut transfer stickers.
Established in 2009, Custom Vinyl Die Cuts saw the need for a locally run, independent vinyl die cutting business. Ideal for companies looking for small to medium run sizes without expensive setup fees. Today, we have become an established global vinyl die cutting company.
Canadian made
All our vinyl work and supplies are created in Canada with the finest quality resources available.

Variety of colours
We stock a wide variety of colours. Depending on the order size, we can bring in custom colours also.

No order too small
No order is too small or too large for us. If you require vinyl die cut stickers, we’ve got you covered.

Stick-it anywhere
Vinyl die cut stickers work great on any surface where you’d like to promote your identity. Just peel it and stick it!
Proud to partner with world-class companies
-
"We've worked with CVDC from the start and to say we're stoked is an understatement! They're easy to deal with, have quick turn arounds and the quality is second to none."
Thomas Thacker / Co-Owner
Coastal Culture -
"I've had the pleasure of working with CVDC on several projects. I can always count on them to bring our designs to life and the quality of the work and materials is exceptional."
Vivian Wong / Project Manager
Lululemon -
"Extremely happy with all the projects we have worked on with CVDC. Event specific die cuts and branded logo die cuts, all of which have been of extremely high quality."
Justin Sweeny / Marketing Manager
Arc’teryx -
"BeaverWax has been working with CVDC since day one and there is no one else we would consider for our stickers. Price, quality and delivery time are all exceptional."
Matt Turner / Owner
BeaverWax
How our process works

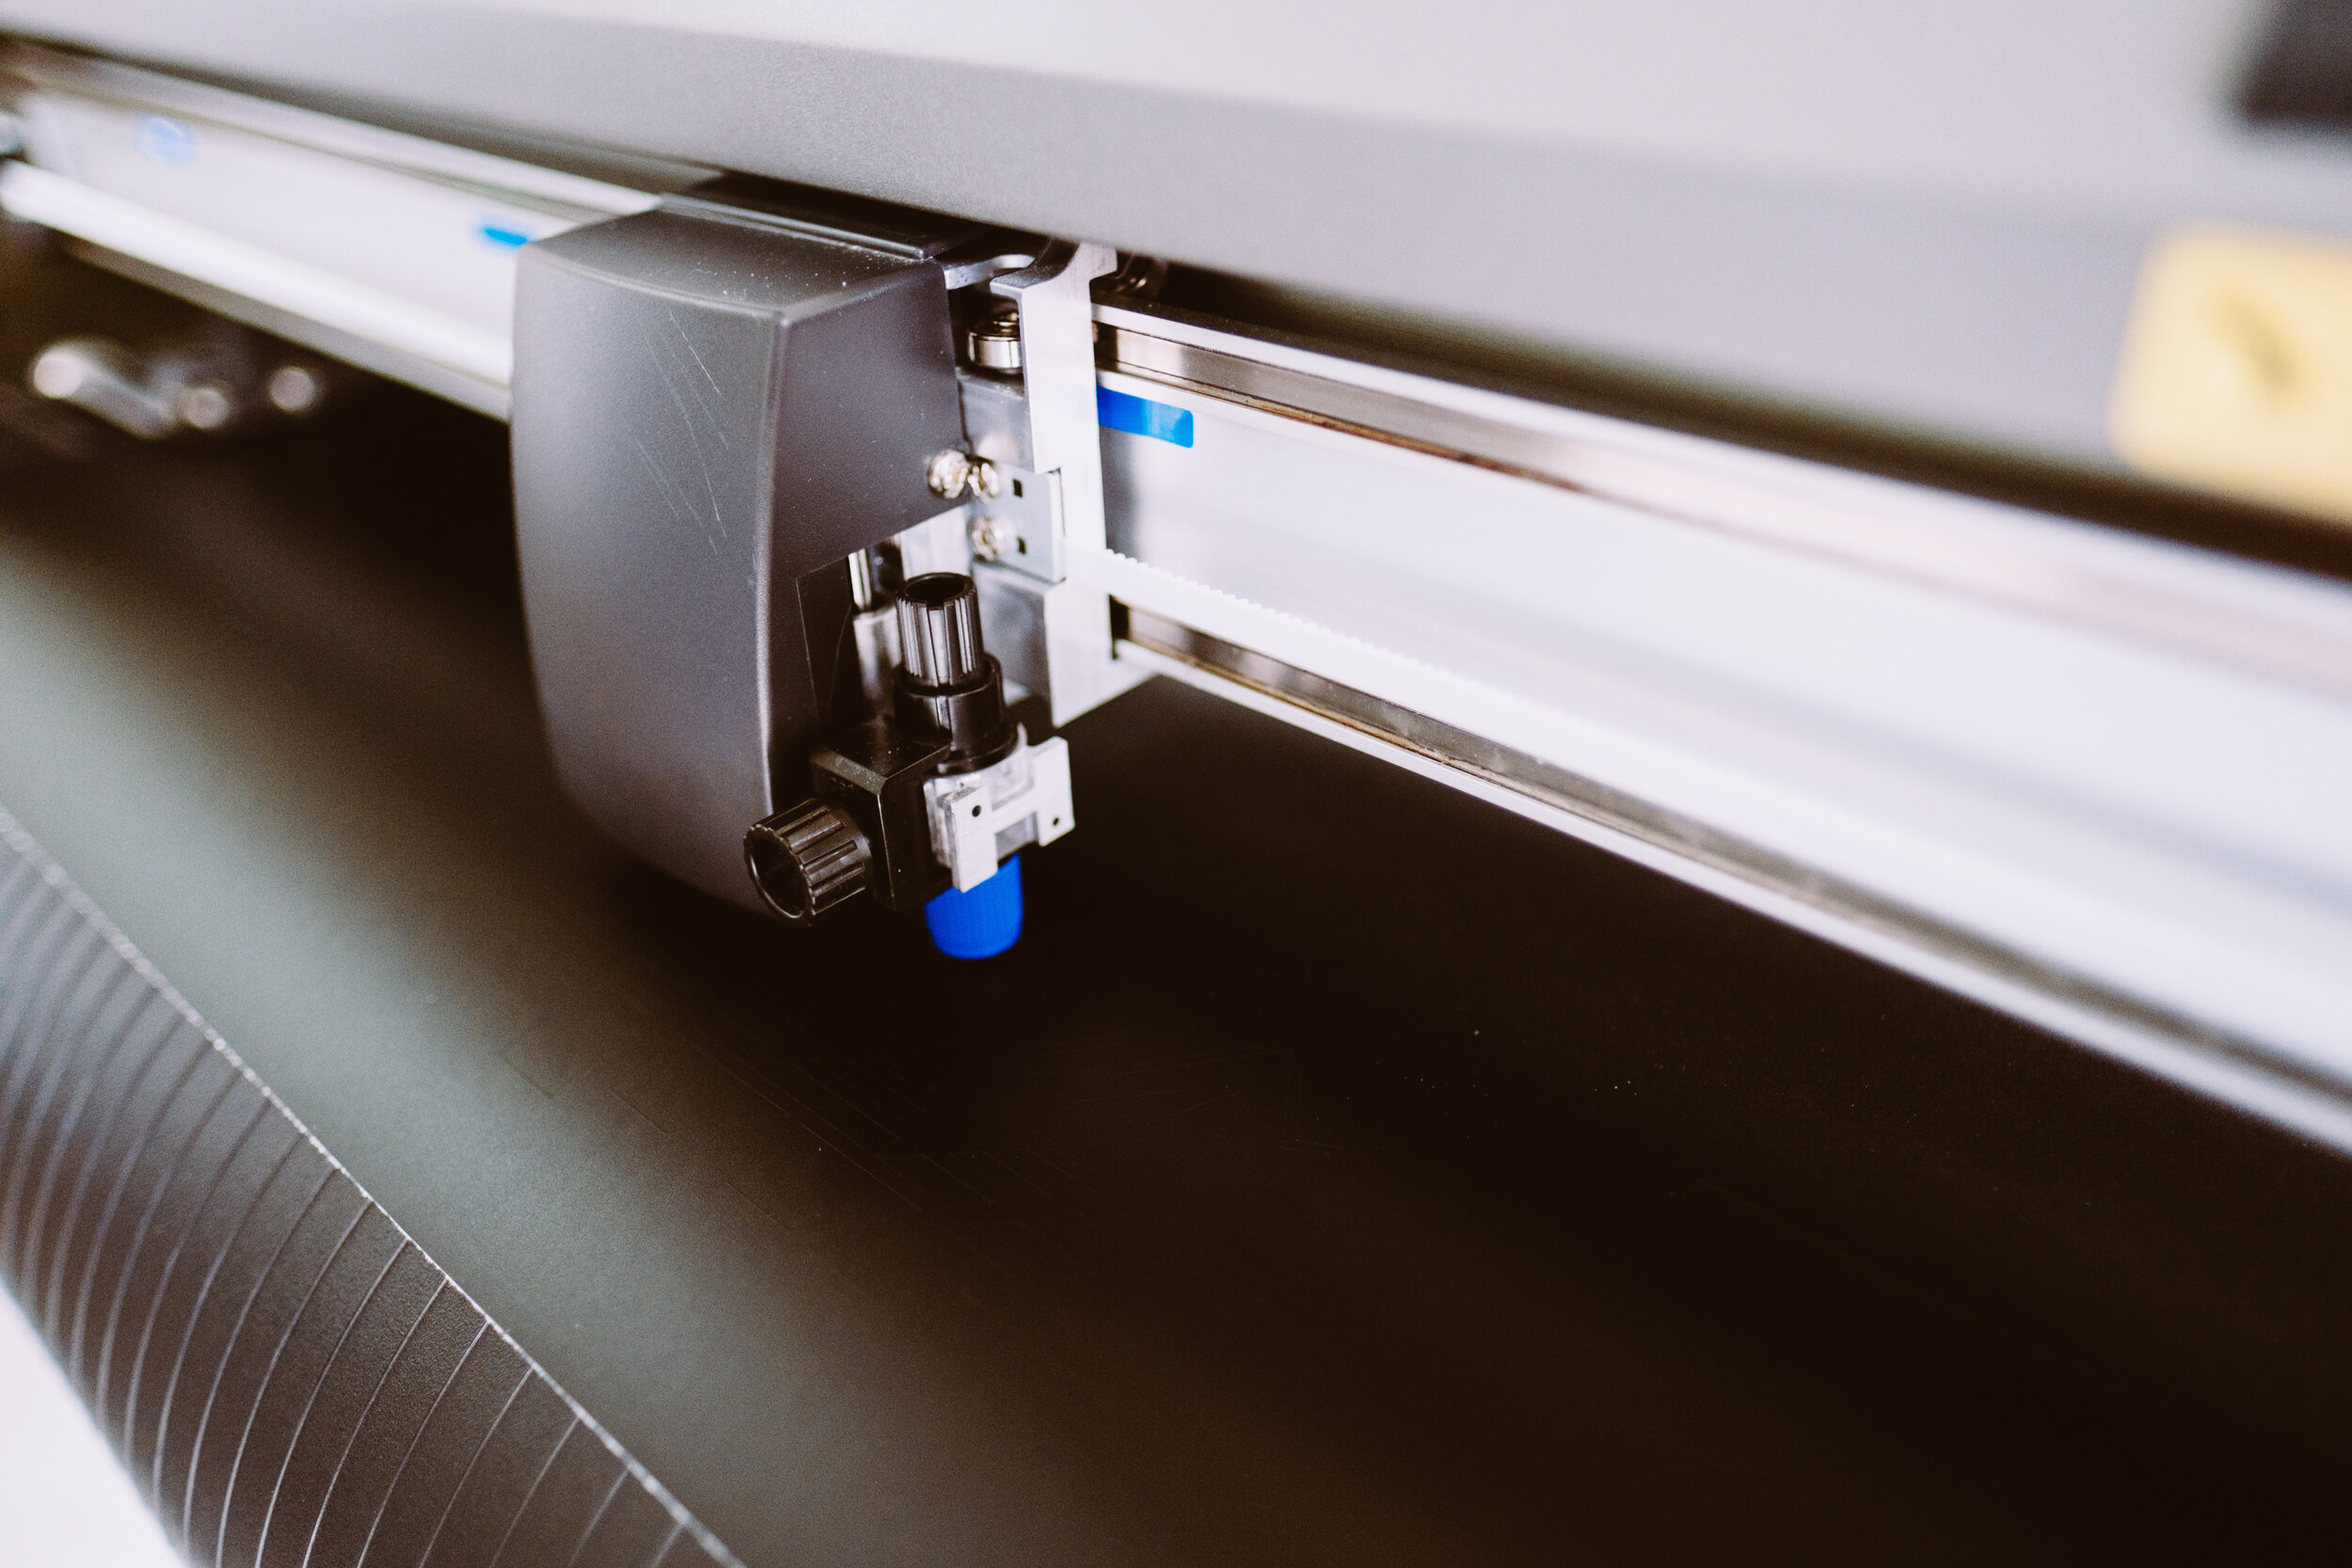
1. Preparing the vinyl
The sticker vinyl is first placed into our industrial plotters. Once fed into the machine a micro-precision knife tip cuts out the design creating the actual die cut.

2. Weeding the borders
Once the cutting is complete the border around the vinyl is weeded away, along with each individual element inside of the design.

3. Removing the excess
Once all of the borders and individual stickers are weeded away, the interior of every letter and every negative space element are then removed.

4. Applying the transfer tape
The transfer tape is then applied to the freshly weeded stickers. This layer not only protects the stickers but also ensures application is super smooth.

5. Cutting individual stickers
The vinyl die cuts are finally cut into individual stickers and packaged to send to you! High-fives all around.